How to Turn a Closet Into a Built-In Cabinet
How to Turn a Closet Into a Built-In Cabinet (Step-by-Step)
In this guide, we're showing you how to take an ordinary closet and turn it into a custom solid-wood cabinet that sits right inside the wall.
If you walk through an older home, you'll notice something modern houses quietly gave up on: recessed cabinets. Beautiful wooden built-ins, set into the wall, with drawers and shelves made for exactly what lived inside them. Somewhere along the way, builders decided a flat door on a dark closet was good enough.
It works. But it has no soul.
A built-in cabinet does something a closet door never will — it gives the wall character. It turns dead storage into furniture. And at Virsa Wood, where we've been working solid wood since 1974, we'd argue it's one of the highest-impact upgrades you can make to a hallway, bathroom, or bedroom.
So if you have a closet that's more "hide it and forget it" than "proud of it," here's how the conversion works, from demo day to drawer pulls.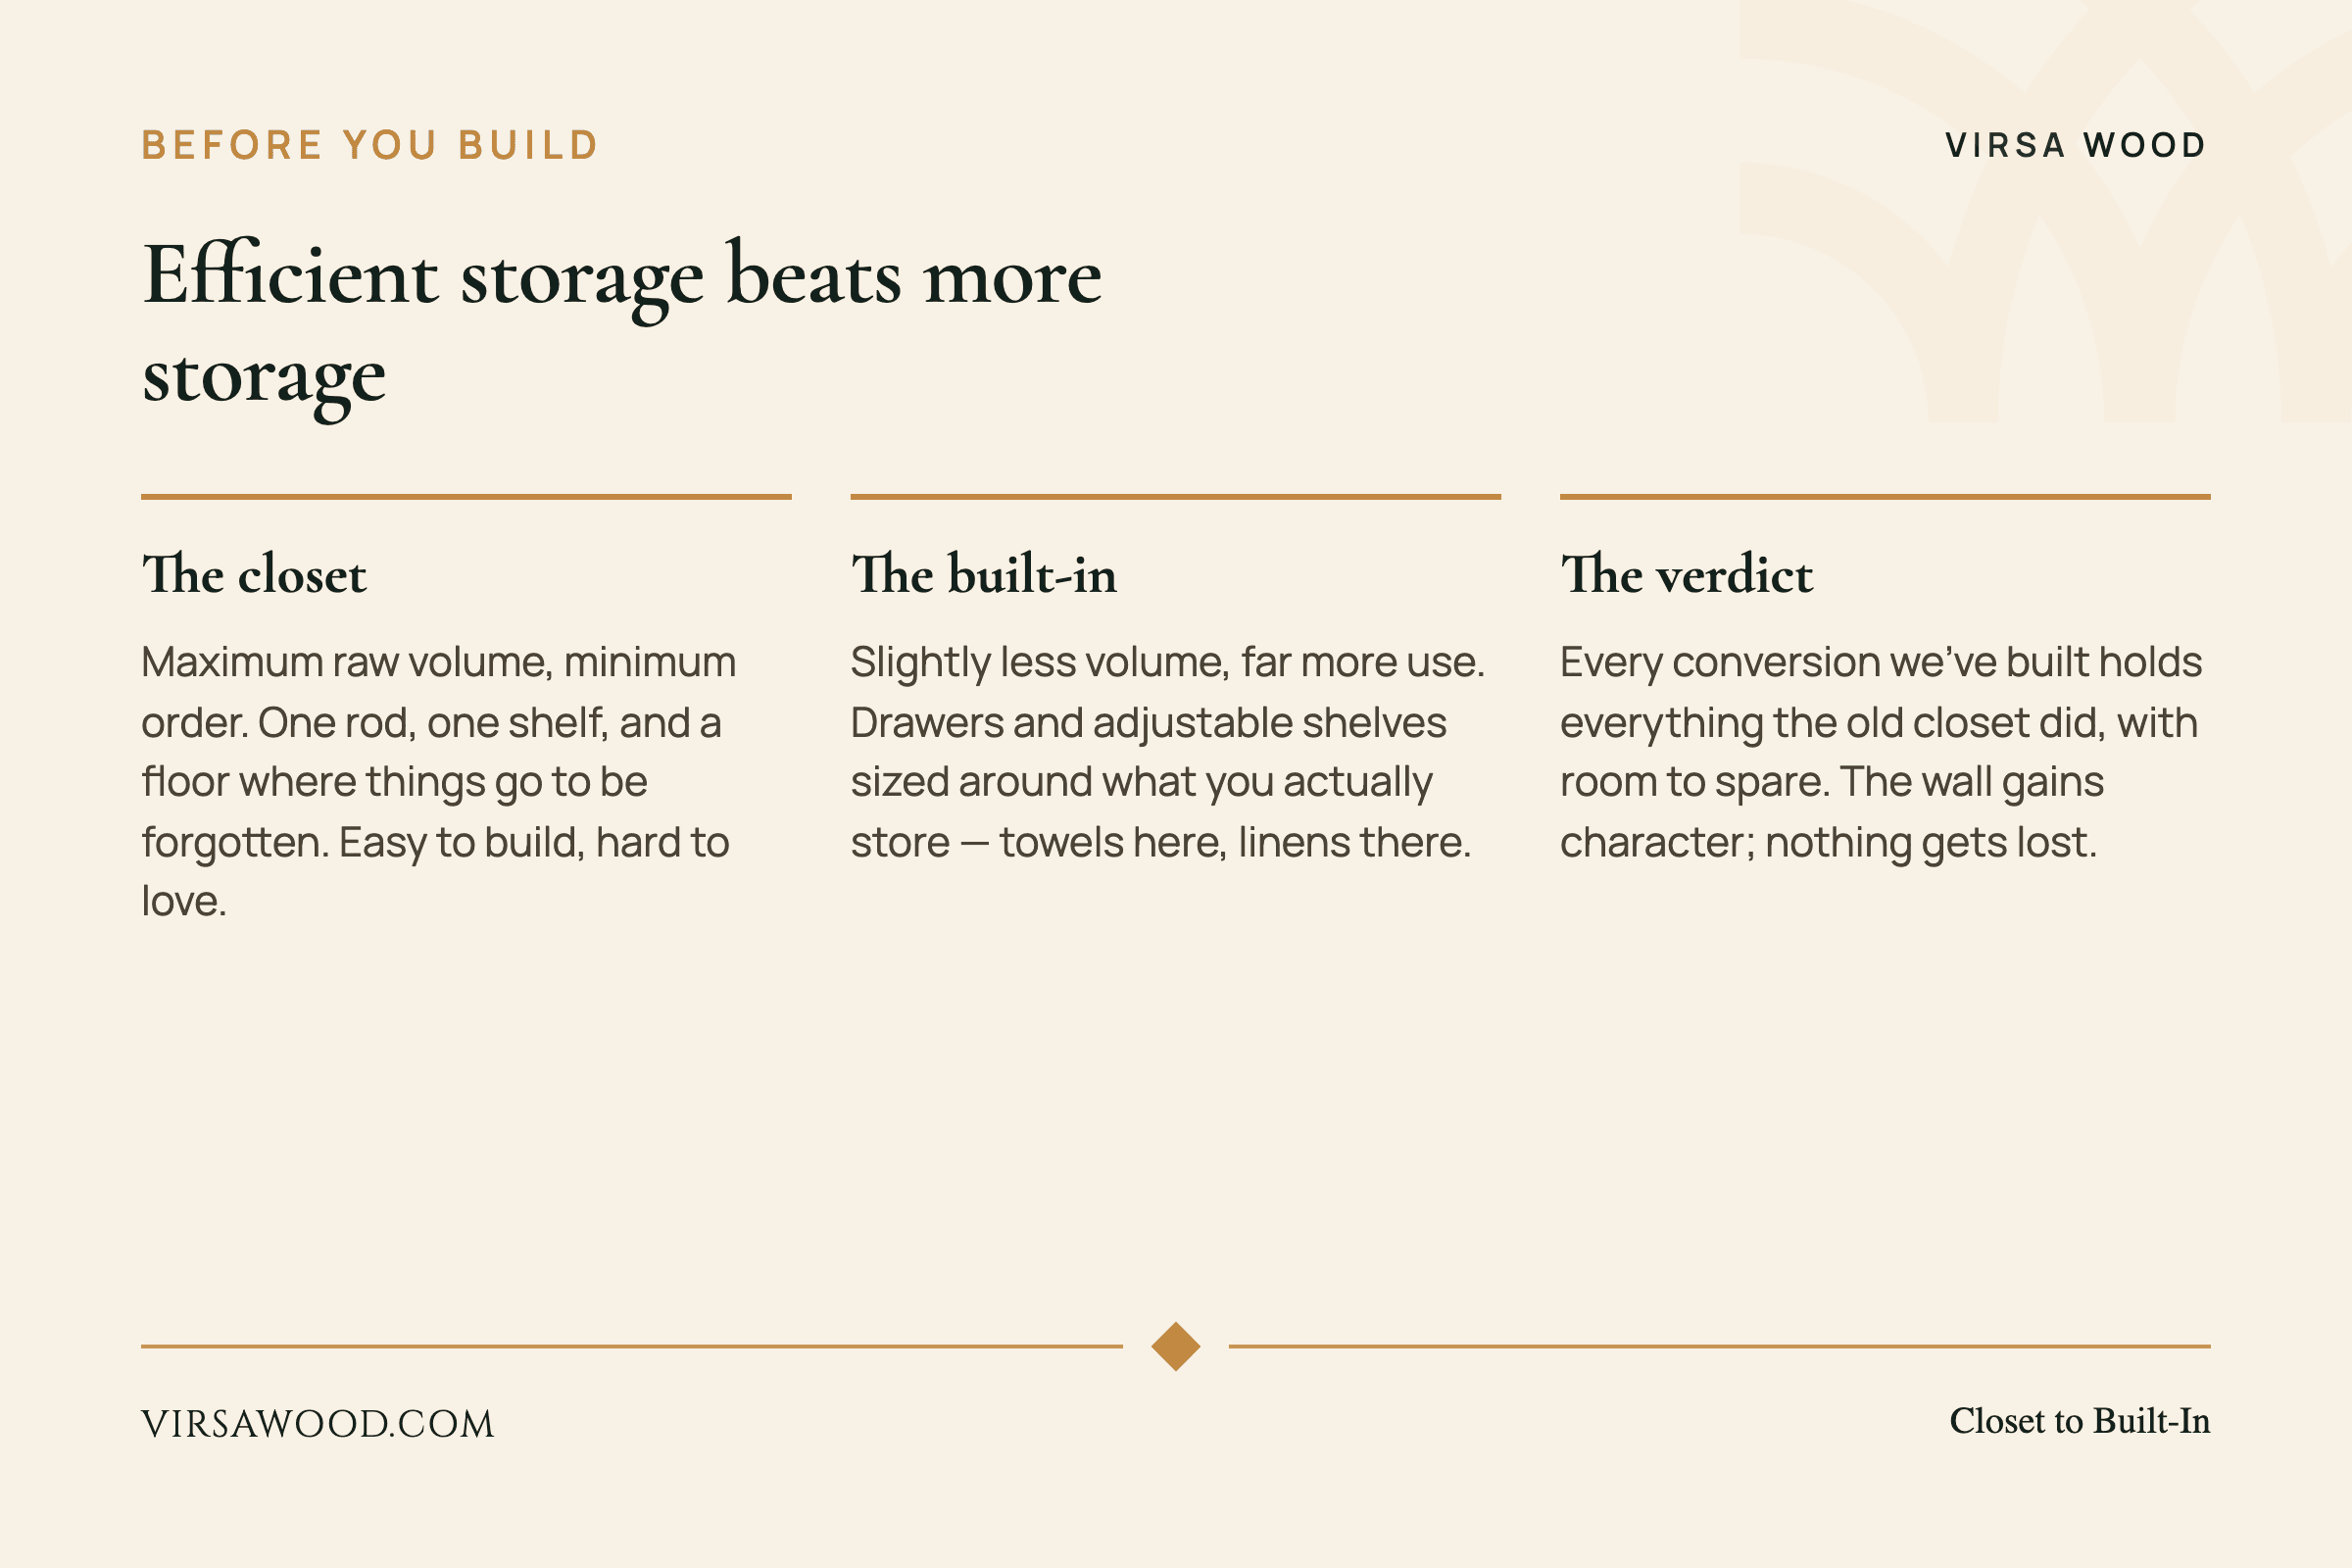
What to Consider Before You Build
Let's be honest about the trade-off first: a cabinet box that slides into a closet opening will always hold slightly less than the raw closet did. You lose a little volume to the box itself.
But here's what we've seen every single time we build one of these: because the drawers and shelves are sized around what you actually store — towels here, bedsheets there, that drawer for things that have no other home — the space works harder. Most people end up fitting everything the old closet held, with room left over.
It's not about how much space you have. It's about how well the space is used.
Efficient storage beats more storage. That's the whole philosophy of custom work — the piece is built around your life, not the other way around. If you genuinely need every last cubic inch, keep the closet. If you want the wall to earn its keep, read on.
Tools & Materials
Here's what a typical conversion needs:
Tools
- Drill/driver
- Circular saw or table saw (for breaking down sheets)
- Miter saw
- Pocket hole jig
- Shelf pin jig
- Brad nailer or stapler
- Stud finder and level
Materials
- Two sheets of ¾″ hardwood plywood (the box, drawers, and drawer fronts)
- One sheet of ¼″ plywood (back panel and drawer bottoms)
- Solid wood boards for the face frame (1x3 and 1x4)
- Three pairs of drawer slides
- Wood glue, pocket hole screws, wood screws, brad nails
- Shelf pins, drawer pulls
- Stain and clear finish
At our workshop we build these in solid sheesham or walnut-veneered hardwood ply with solid wood face frames — pick a species that matches the room it lives beside. If the cabinet will sit next to an existing vanity or wardrobe, matching the wood is what makes it look built for the house rather than bought for it.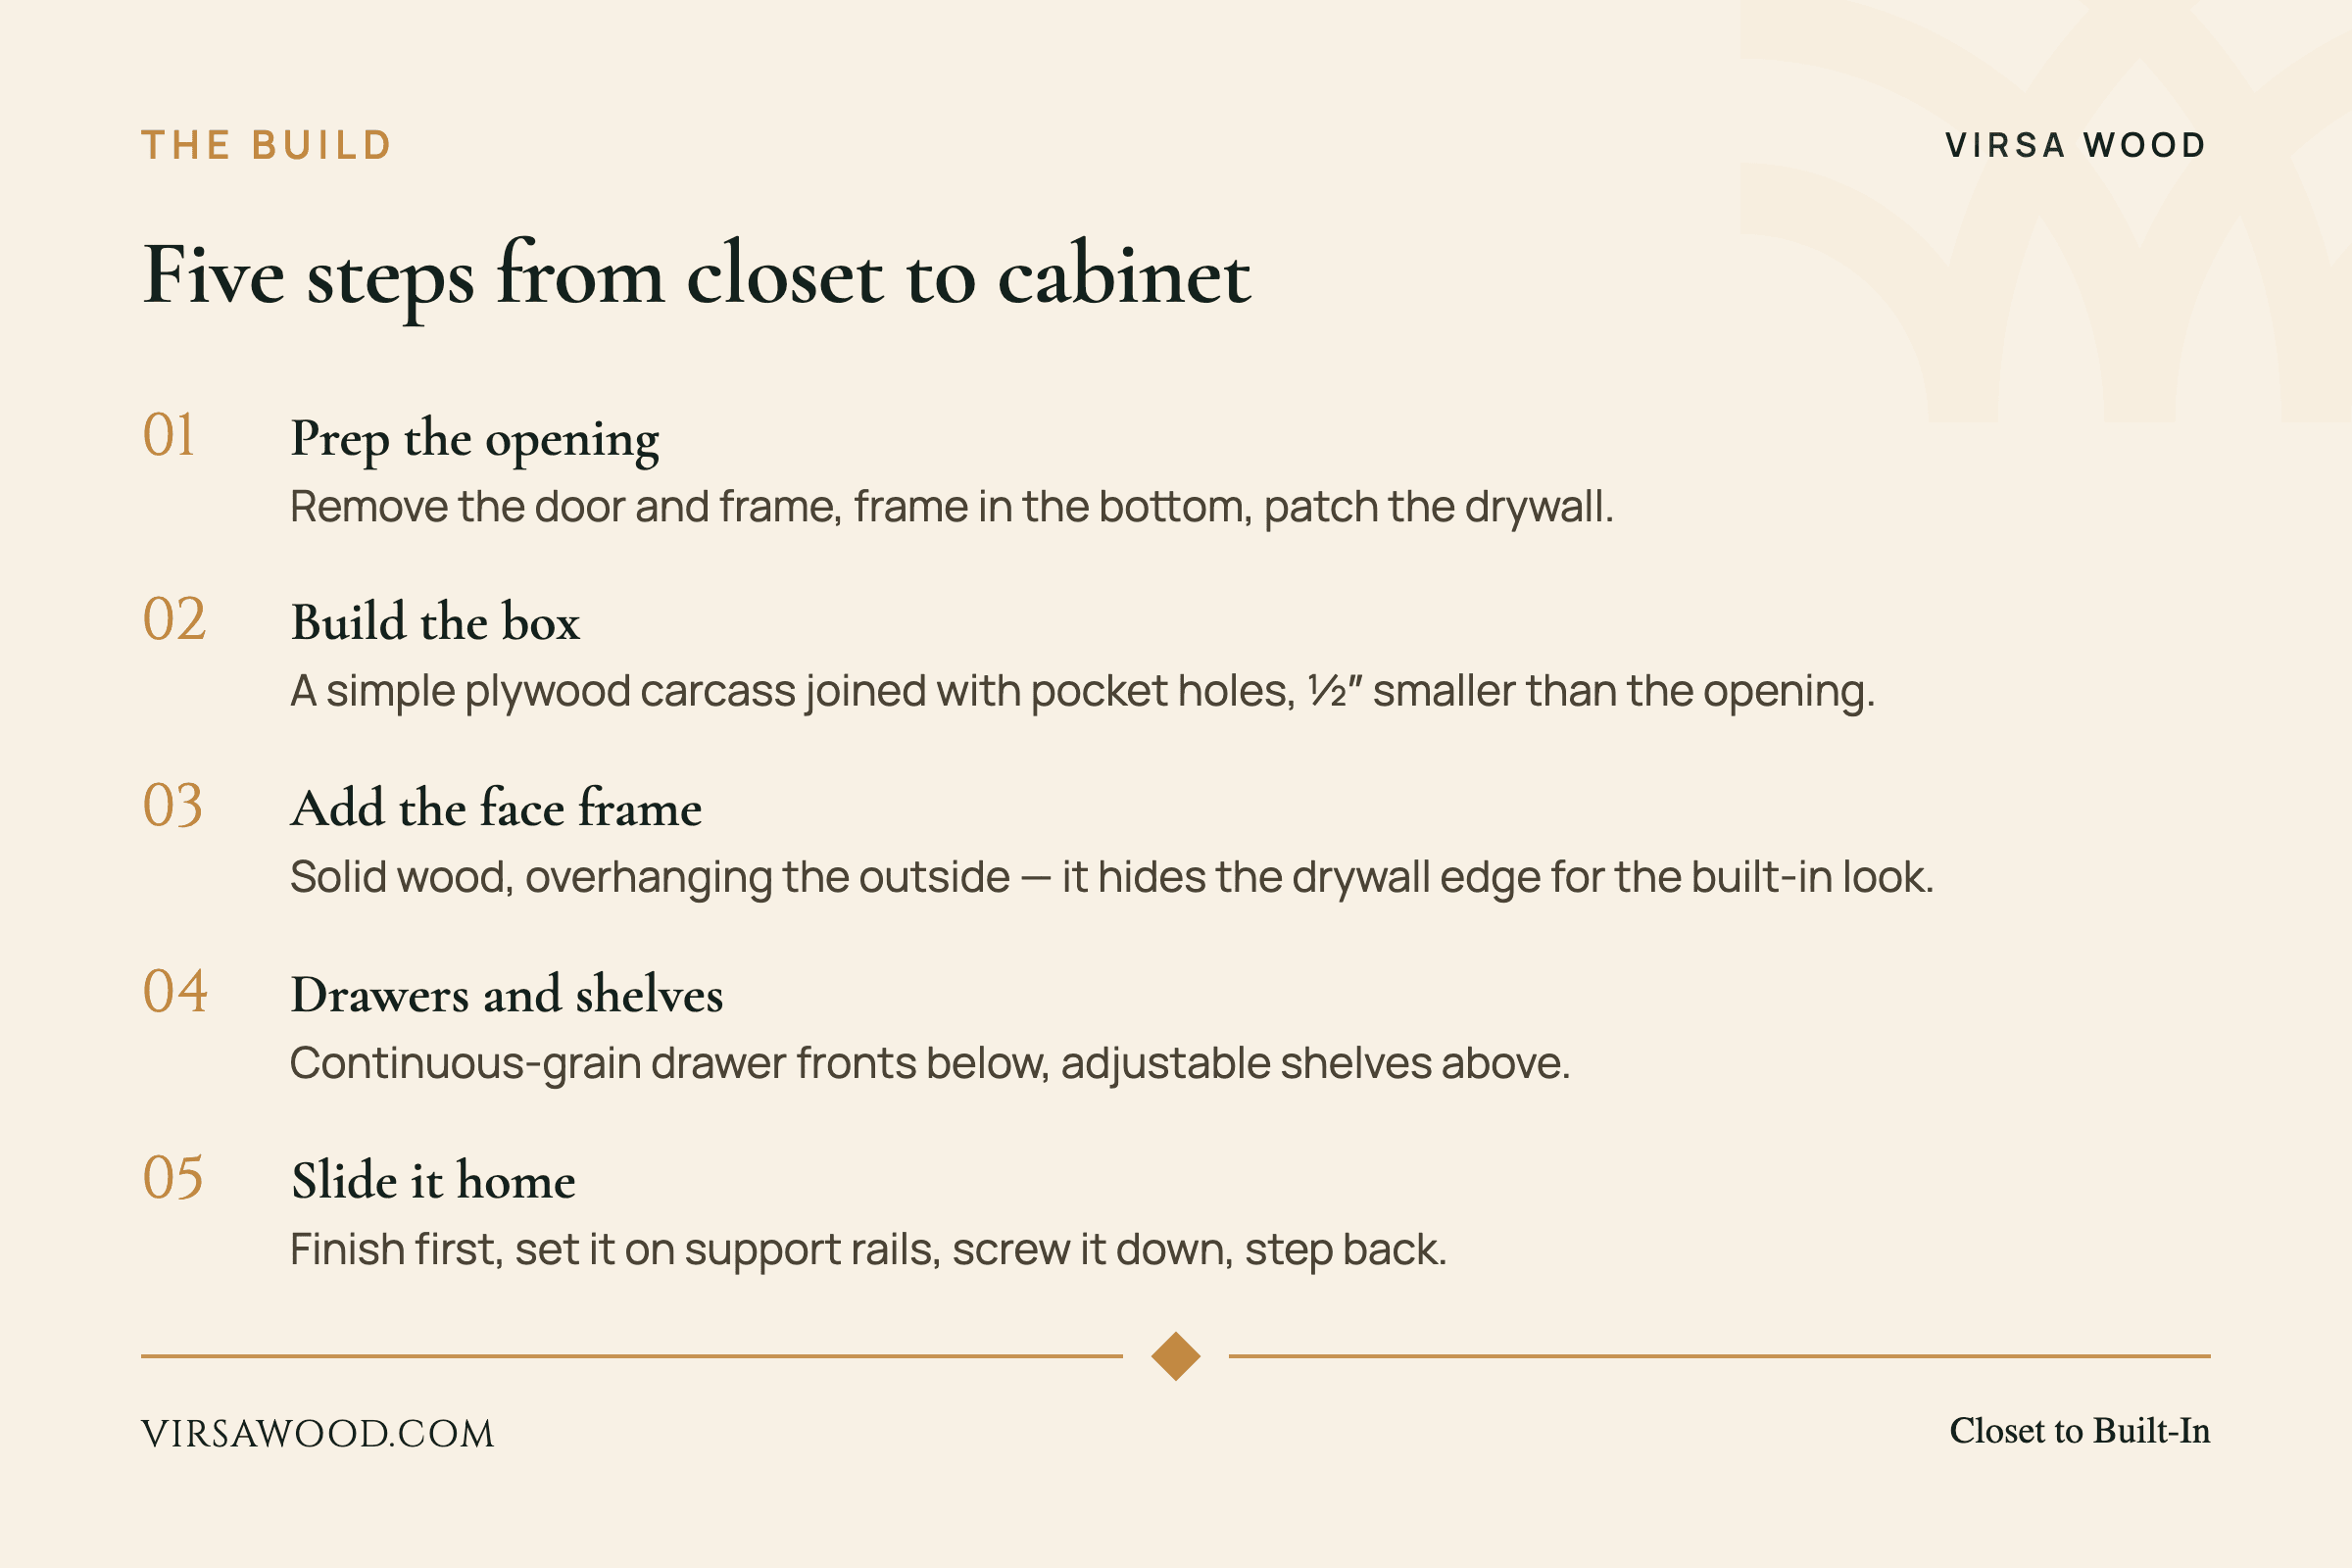
Step 1: Prep the Closet Opening
Before any cabinet gets built, the closet has to become a clean hole in the wall.
Remove the door, the trim, and the door frame until you're down to studs and drywall. The cabinet is designed to slide into this opening, so it shouldn't fight with your baseboards — which means the bottom section of the opening gets framed in. Build a simple 2×4 frame for the lower portion, screw it to the studs on both sides, cover it with drywall, and finish the seams.
A sizing tip: measure the drywall gap between the top of the closet opening and the ceiling, and frame the bottom to match it. That centers the cabinet vertically on the wall — a small detail your eye will thank you for every time you walk past. Just make sure there's enough height at the bottom to run the baseboard through.
Once the wall is patched, painted, and the baseboard is back on, measure the opening carefully: height, width, and depth from the back wall to the front face of the drywall. Your cabinet box needs to be about ½″ to 1″ smaller in every direction so it slides in without a fight.
Step 2: Build the Cabinet Box and Face Frame
The box itself is honest, simple joinery: two tall sides, a top, a bottom, and a fixed middle shelf, cut from ¾″ plywood and joined with pocket holes.
While you're drilling the pocket holes for assembly, drill an extra row along the front edges of the sides, top, and bottom. Those will pull the face frame tight against the box in the next step — much cleaner than nailing through your finished frame.
The face frame is where the piece starts to look like furniture. Build it from solid 1x3s, sized so its inside opening matches the inside of the box, with all the extra width overhanging the outside. That overhang is doing a job: once the cabinet slides into the wall, the frame covers the raw drywall edge on all four sides and gives you that seamless, built-in look. No trim gymnastics required.
Step 3: Drawers and Drawer Fronts
For the lower section, drawers earn their keep far better than shelves — nothing gets lost at the back.
Mount three pairs of drawer slides in the bottom half of the cabinet, then build the drawer boxes from ¾″ plywood with ¼″ bottoms. Pocket holes and screws for the boxes, staples for the bottoms. We like two deep drawers below and one shallow drawer on top — deep for linens, shallow for the small stuff — but split them however your storage demands.
Now for our favorite trick in the whole build: continuous-grain drawer fronts. Instead of cutting three separate fronts, cut one single panel of ¾″ plywood sized to cover the whole drawer section — as if it were one big door. Wrap the edges in a simple trim molding, let the glue dry, and then cut the panel into three fronts.
When the drawers close, the grain flows unbroken from top to bottom. It's the kind of detail most people can't name but everyone notices — the difference between "nice shelf" and "who built that?"
Step 4: Shelves, Back Panel, and Finish
The upper section gets adjustable shelving. Drill two columns of shelf pin holes on each side with a shelf pin jig, cut your shelves, and you can rearrange the interior any time life changes.
Close the box with a ¼″ plywood back, tacked on with brad nails.
Finish the cabinet before it goes into the wall — trust us, staining inside a hole is nobody's idea of a good evening. A warm stain and two or three coats of a clear water-based finish will protect the wood and let the grain do the talking.
Step 5: Install the Built-In
While the finish cures, prep the landing inside the wall. Screw a level support strip across the back wall of the closet, set flush with the bottom of the opening, then run two strips front-to-back between the wall framing and that back support. The cabinet will ride on these rails.
Now lift the cabinet, set it on the supports, and slide it home until the face frame meets the drywall on all four sides. Screw down through the cabinet bottom into the support strips, load the drawers and shelves back in, and step back.
That's the moment. The wall that used to hold a forgettable door now holds a piece of furniture — grain flowing across the drawer fronts, frame sitting flush against the paint, built like it was always meant to be there.
Would Rather Not Build It Yourself?
That's what we're here for. Virsa Wood has been building custom solid-wood furniture since 1974 — three generations of joinery, made to measure for your walls, your rooms, and the things you actually need to store.
If you have a closet, an alcove, or an awkward wall that deserves better, send us a photo and the measurements. We'll design the built-in around your life and build it in real wood — the kind you pass down, not replace.
📞 +92 311 5254868 · 🌐 virsawood.com
Let's build it in wood.
Frequently Asked Questions
Does converting a closet to a built-in cabinet reduce storage?
You lose a small amount of raw volume to the cabinet box itself, but custom drawers and adjustable shelves use the remaining space far more efficiently. Most conversions store everything the old closet held, with space to spare.
What wood should I use for a built-in cabinet?
Use ¾″ hardwood plywood for the box and drawers, with a solid wood face frame. If the cabinet sits near existing wooden furniture, match the species — sheesham, walnut, or oak — so the room reads as one design.
Can any closet be converted into a built-in cabinet?
Most standard closets can, as long as the opening can be framed cleanly and there are studs on both sides to anchor into. Shallow closets actually make excellent built-ins, since drawers reach the full depth easily.
How long does a closet-to-cabinet conversion take?
For a competent DIYer, plan a weekend for wall prep and another for the build and finish. A professional workshop like ours typically builds the cabinet off-site and installs it in a single visit.
Enjoyed this guide? Save it for your next home project, and follow @virsawood for more solid-wood knowledge from the workshop.
Enjoyed this?
Follow Virsa Wood on Google
Mark us as a preferred source and our stories on wood, craft and interiors will show up more often in your Google Search results.
Add as a preferred source